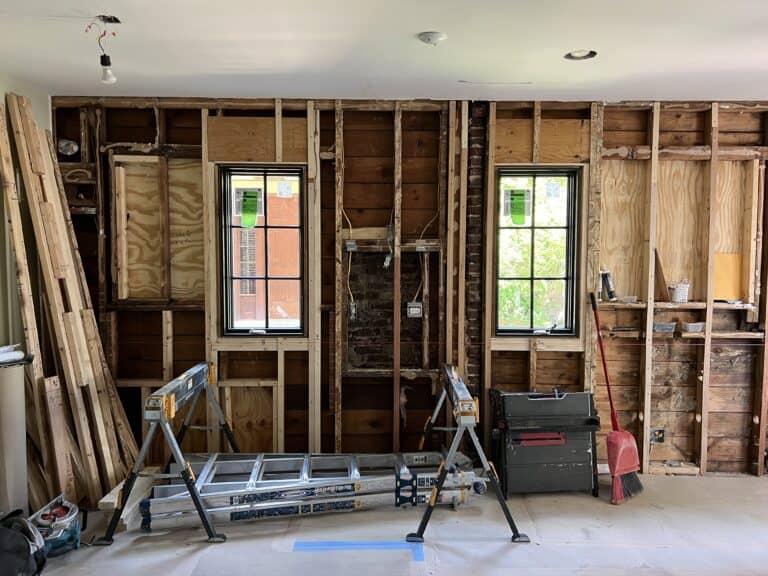
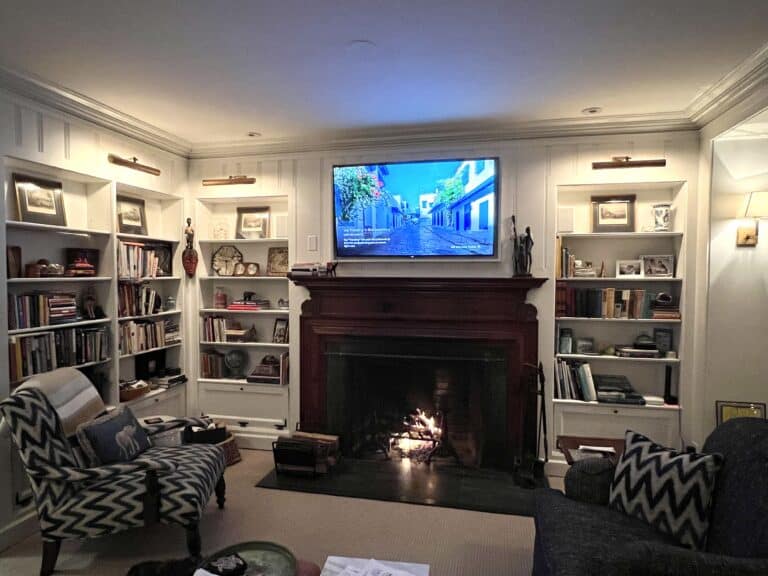
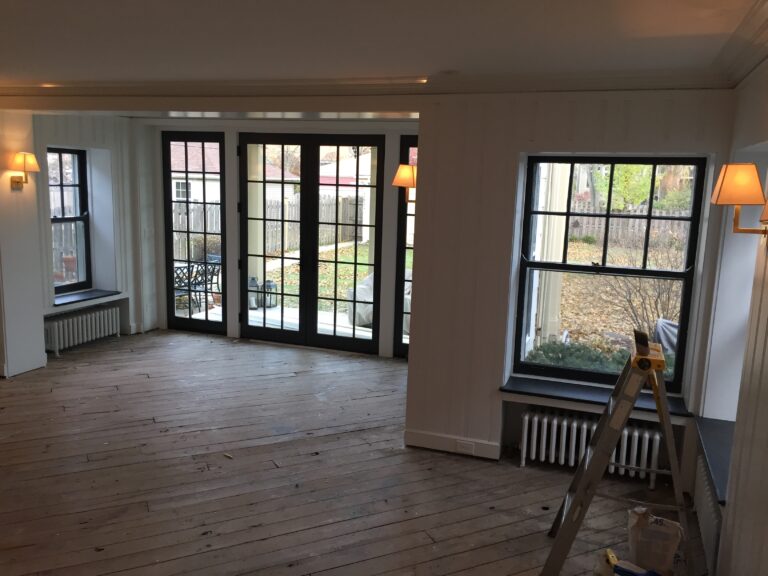
Most kitchen remodel projects will take 3-4 months. During that time, the key to surviving (even thriving) will be a functional temporary kitchen. The kids would have been thrilled to order out every night, but were spending enough money on the remodel and I wanted to be able to cook good, clean food. What I put in my body is important to me, so I needed to be able to cook vegetables, high quality carbs and protein.
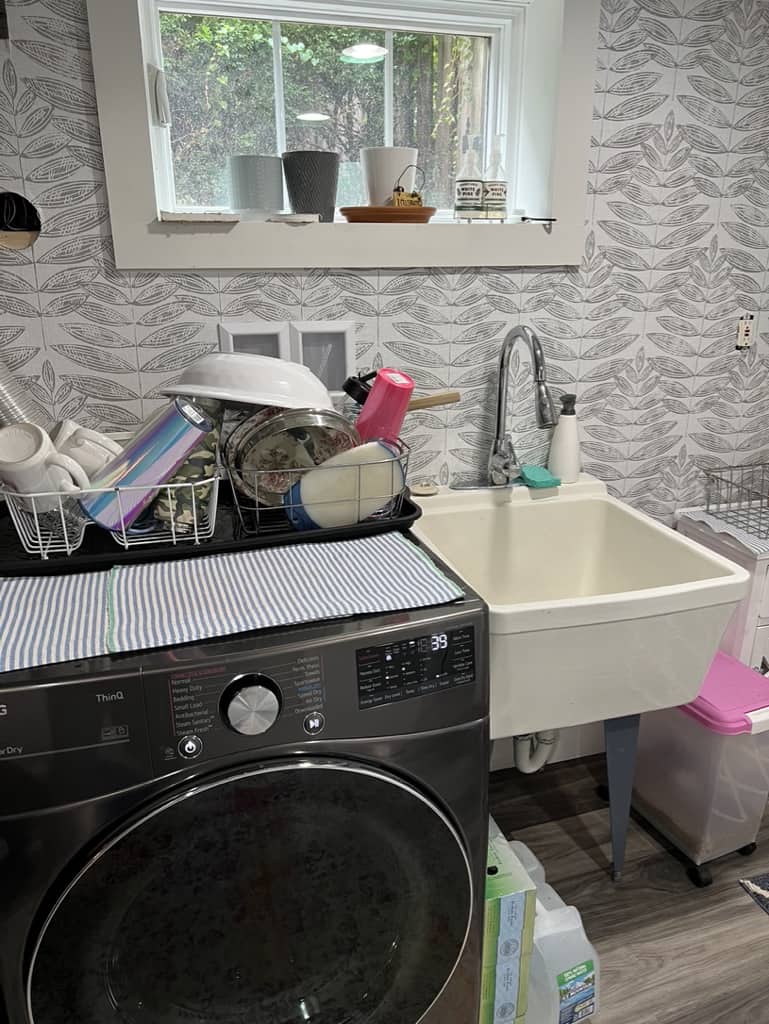
We are fortunate to have an old “dry bar” in our basement near our laundry room with a utility sink, refrigerator and a ½ bath. A few years ago, we upgraded the basement for minimal money (will post on that later) so the space was clean and somewhat updated. Having used this “kitchen” for nearly four months I do have some pointers to help you create a kitchen that can sustain you while you wait for your beautiful, remodeled kitchen.
Strategies For Setting Up Your Temporary Kitchen
Here are some survival strategies for your makeshift kitchen – if your space doesn’t exactly relate to each of them, take the idea and apply it to your space. Generally, your contractor can set you up in your dining room or an area adjacent to the kitchen. They might even move your full-size refrigerator in there.
- Save your “must have” items when packing up the kitchen – As we were packing up our kitchen, we asked everyone to think about the 1-2 things they had to have. My 16-year-old still uses her toddler silverware because she thinks every other piece of silverware gives her a metal taste. For me it was my favorite coffee mug and a soup bowl that I use for salads, etc. We also packed one box of essentials that we wanted to have in the temporary kitchen. These included a small frying pan, small pot, a whisk, measuring spoons, spatula spoons (love these), a few mixing bowls, some of my summer melame items were perfect and tongs for grilling, making pasta, etc.
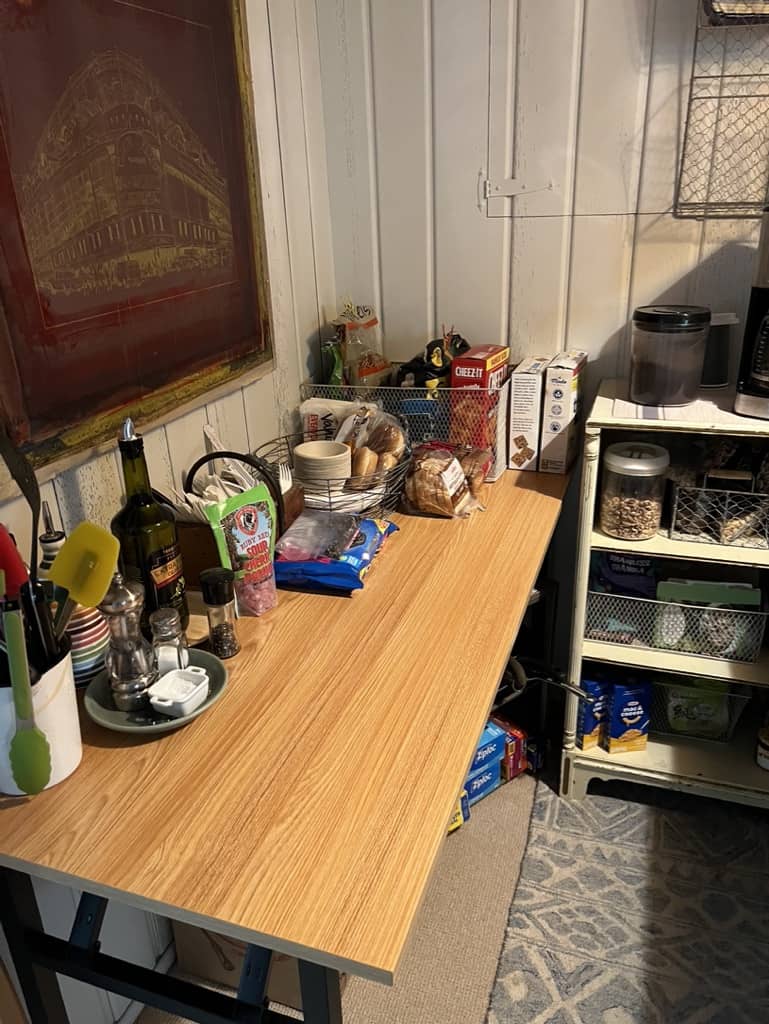
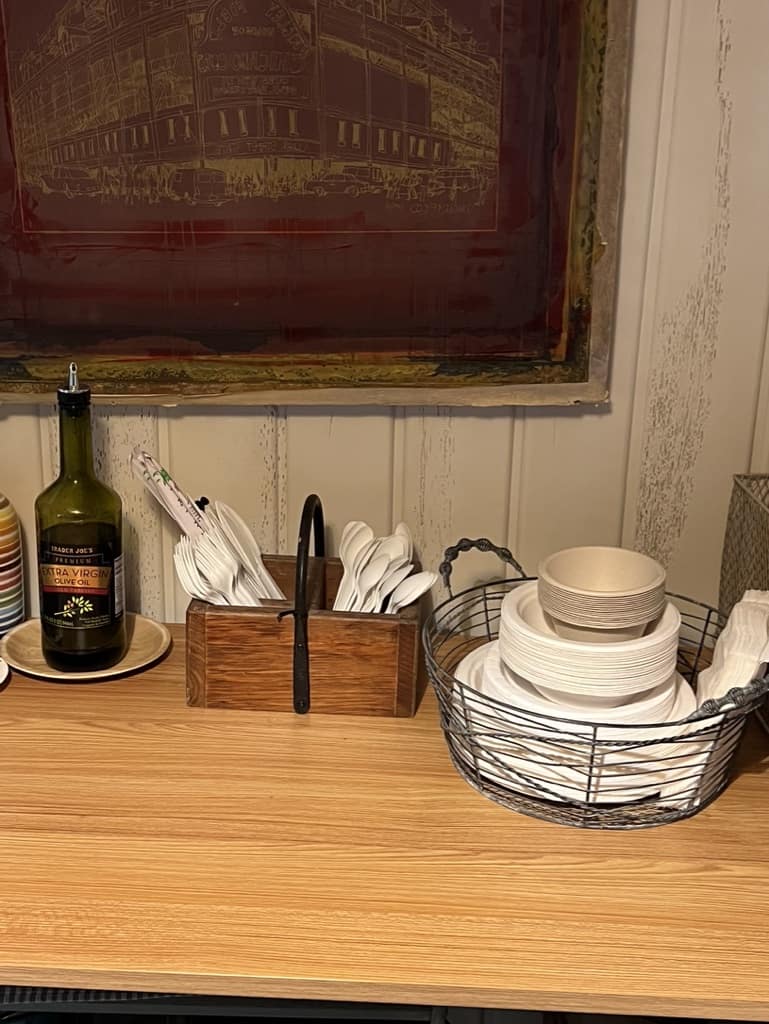
- Counter space or “surface area” – In addition to the bar area, we brought out some utility tables. This one had a faux-wood top, was smaller at 55″ long, and had been used as a desk during the pandemic work-from-home era. It was the perfect size to fit behind the bar and hold baskets and containers for plasticware, plates, frequently used utensils, etc. You might need a larger area and a 6-foot plastic table will be perfect.
- Shelves – Similar to “counter space” we found that having shelves to store food items was essential. The top of it could also extend our counter space. We had an old bookshelf that we were able to fit perpendicular to the table and counter to give us a “U-shaped” space behind the bar.
- Baskets — Our former pantry had metal baskets and we repurposed a few of them for pasta, bread, snacks, etc. They even came in handy to hold the paper plates and bowls.
- Minimize dishes – I did not want to have to do a lot of dishes, so I embraced compostable items. We ordered more sturdy palm leaf plates for a graduation party and used those with meals like grilled steak. In general paper plates and bowls that were more substantial worked for every day. I also ordered compostable utensils; I was careful to read reviews to make sure they wouldn’t break when we cut into our food. These worked really well, and I ended up reordering them a couple times.
Note: This site contains affiliate links. As an Amazon Associate I earn from qualifying purchases.
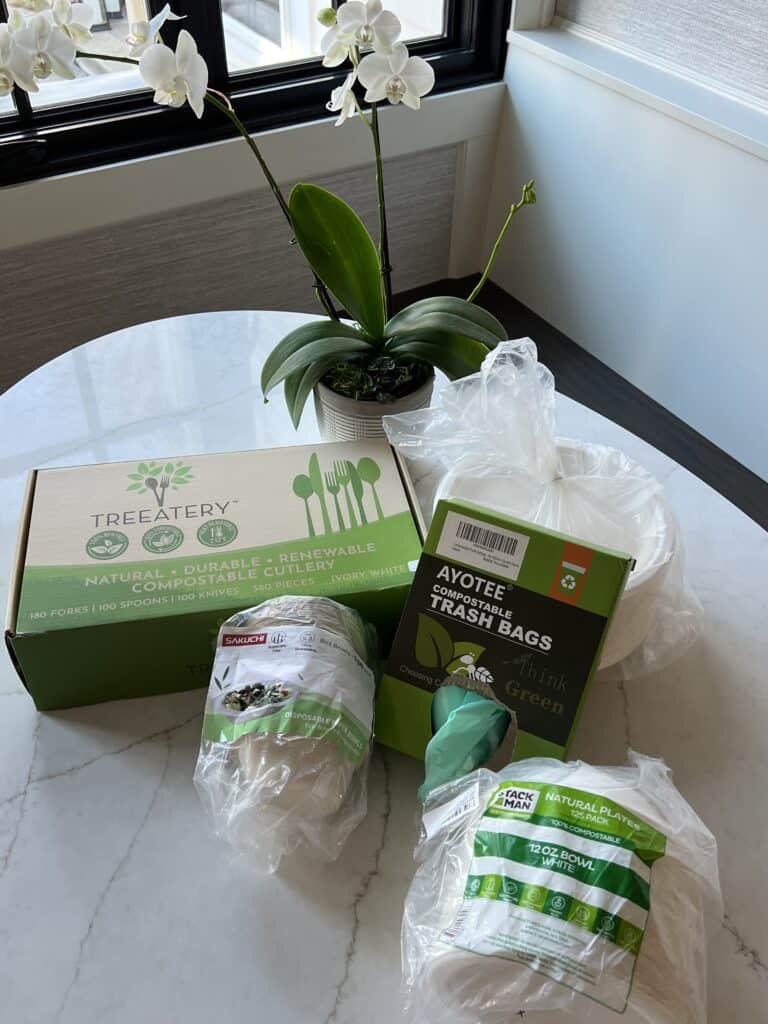
Here are direct links to the 100% compostable products that we used continuously:
- Cutlery Set by Treeatery — Forks, knives and spoons; 380 pieces
- Stack Man 12 oz bowls, 125 pack
- Zorrita 8oz bowl, 150 pack
- ECOLipak 9- inch plates, 150 pack
- AYOTEE tall kitchen garbage bags, 13-gallon, 60 count (these are so sturdy)
- Palm leaf plates and bowls, for more hearty meals
- Have “appliances” at the ready –
- Microwave: The microwave is a frequently used appliance in our house, so that had to be easily accessible.
- Hot plate: I had wanted to buy a 2-burner hot plate, thinking I could simultaneously boil water and sauté some meat/vegetables for pasta, etc. Then a neighbor who had remodeled the previous year offered me her single burner hot plate. I graciously accepted (again, thinking about all the money that was going into the kitchen) and decided I could adjust my meal planning to utilize just one burner. It was perfect.
- Toaster: The toaster is another frequently used appliance in our house – but we found while making avocado toast with eggs that using the hot plate and the toaster at the same time would trip the multi-outlet surge protector. So, we relocated the toaster to another outlet.
- Coffee Maker: This was a must-have and would need to take up our precious counter space.
- Grill: I do a lot of grilling year-round, but especially in the summer, so he grill became the centerpiece of my meal planning. If I was grilling steak, where I would have baked red-skin potatoes, without an oven, I chopped them smaller, seasoned with olive oil, kosher salt and pepper and put them in tin foil on the grill.
- Air fryer, Instapot, etc.: I had multiple neighbors offer me their air fryers and insta pots and I know a lot of people who swear by them. I had never used them previously, so while they sounded great, I didn’t want to add another appliance to our limited space that I wasn’t sure I would use. If you use them regularly then definitely put them on your “essentials” list and they will be perfect for your temporary kitchen.
Adjust Meal Plans For Your Temporary Kitchen
As I mentioned, a multiple-pan meal was out of the question. So, I’d grill chicken/steak outside and make a farro salad or do a summer pasta of fresh tomatoes, garlic and basil. All ingredients are chopped and at room temperature marinating for an hour or two, then I boil pasta and stir in into the tomato mixture. Magnifique.
One cool summer evening early in the process, I had a taste for vegetarian chili. I made it a personal challenge to make a small pot of chili. I used pre-chopped carrots and onions, some broccoli, canned tomatoes, 2-types of beans and a package of chili seasoning. Success! Everyone, including me, was impressed and it hit the spot.
Preplanning Is Key To A Successful Kitchen Remodel
A kitchen remodel can be daunting – I know! But with some pre-planning and thinking through how your family eats and what is essential, you don’t have to order out every night. Some nights I felt like we were staying at a rustic cottage, cooking in a sparsely outfitted kitchen. It became a fun challenge to make home cooked meals.
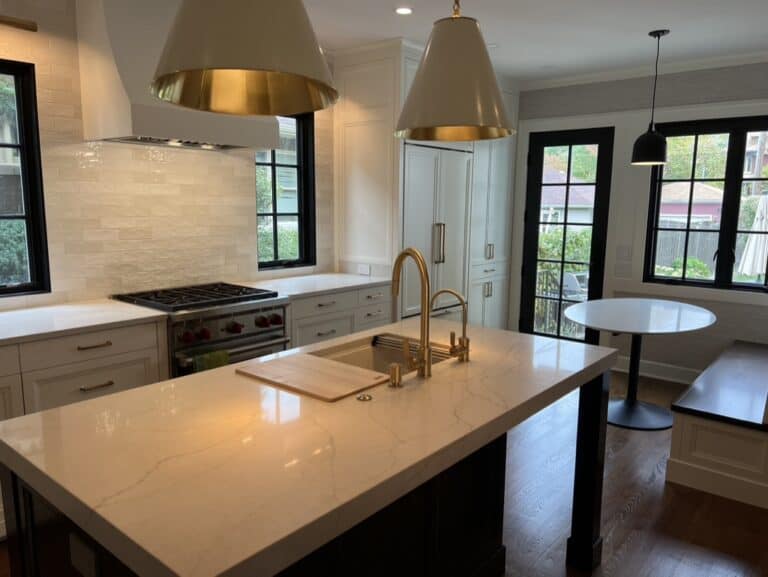
Good luck and I hope this guide helps you plan your temporary kitchen. It will all be worth it when you WETSU in your new kitchen.
WETSU! WETSU!
XO JT

